如今,随着互联网技术的发展,网络用户规模越来越大,假如公司的每一个应用都建立一个用户系统,不仅极大的增加了开发的工作量,而且容易形成了信息孤岛,用户在使用公司的每个产品时都需要重复注册一次。因此许多公司为了统一管理,建立了统一认证中心,其他的应用需要通过单点登录即可获取用户信息,用户登录该公司的其他应用时也不需要在重新注册,大大节省公司用户导入成本,也提高用户使用体验。
对于单点登录(SSO)而言,现在技术比较成熟,网上各种教程也比较多,但是很多文章都讲述的不怎么全面,在这里本文基于 spring security 简单明了的介绍下时如何实现单点登录功能。
在使用单点登录之前,需要先搭建一个认证中心,例如通过易水公共组件快速搭建一个自己的认证中心,也可以使用现在网络上现成的认证中心,如 谷歌 或 github.
一 在 pom 文件中加入依赖
完整的 pom 文件内容如下:
<?xml version="1.0" encoding="UTF-8"?>
<project xmlns="http://maven.apache.org/POM/4.0.0" xmlns:xsi="http://www.w3.org/2001/XMLSchema-instance"
         xsi:schemaLocation="http://maven.apache.org/POM/4.0.0 https://maven.apache.org/xsd/maven-4.0.0.xsd">
    <modelVersion>4.0.0</modelVersion>
    <parent>
        <groupId>org.springframework.boot</groupId>
        <artifactId>spring-boot-starter-parent</artifactId>
        <version>2.2.0.RELEASE</version>
        <relativePath/> <!-- lookup parent from repository -->
    </parent>
    <groupId>com.yishuifengxiao.sso-client</groupId>
    <artifactId>demo</artifactId>
    <version>0.0.1-SNAPSHOT</version>
    <name>demo</name>
    <description>Demo project for Spring Boot</description>

    <properties>
        <java.version>1.8</java.version>
    </properties>

    <dependencies>
        <dependency>
            <groupId>org.springframework.boot</groupId>
            <artifactId>spring-boot-starter-oauth2-client</artifactId>
        </dependency>

        <dependency>
            <groupId>org.springframework.boot</groupId>
            <artifactId>spring-boot-starter-security</artifactId>
        </dependency>
        <dependency>
            <groupId>org.springframework.boot</groupId>
            <artifactId>spring-boot-starter-web</artifactId>
        </dependency>

        <dependency>
            <groupId>org.projectlombok</groupId>
            <artifactId>lombok</artifactId>
            <optional>true</optional>
        </dependency>


<!--        <dependency>-->
<!--            <groupId>org.springframework.security.oauth.boot</groupId>-->
<!--            <artifactId>spring-security-oauth2-autoconfigure</artifactId>-->
<!--            <version>2.2.0.RELEASE</version>-->
<!--        </dependency>-->

    </dependencies>

    <build>
        <plugins>
            <plugin>
                <groupId>org.springframework.boot</groupId>
                <artifactId>spring-boot-maven-plugin</artifactId>
            </plugin>
        </plugins>
    </build>

</project>
|
二 加入配置信息
在配置文件中加入以下信息
spring.security.oauth2.client.registration.yishui.provider=yishui
# 登录界面上显示的登录类型的名字,可不填
spring.security.oauth2.client.registration.yishui.client-name=custom
# 该用户对应的clientId
spring.security.oauth2.client.registration.yishui.client-id=zhiyubujian
# 该用户对应的clientSecret
spring.security.oauth2.client.registration.yishui.client-secret=zhiyubujian
# 这里是定值为authorization_code,表示使用授权码模式模式从授权服务器中获取token
spring.security.oauth2.client.registration.yishui.authorization-grant-type=authorization_code
# 回调地址,应该和授权服务器中登记的回调地址一模一样,否则会出错,支持通配符,也可以想下面那样配置为完整的地址
spring.security.oauth2.client.registration.yishui.redirect-uri={baseUrl}/login/oauth2/code/{registrationId}
#spring.security.oauth2.client.registration.yishui.redirect-uri=http://192.168.0.172:8006/oauth2/code

# 授权服务器的authorization地址
spring.security.oauth2.client.provider.yishui.authorization-uri=http://192.168.0.172:8000/oauth/authorize
# 授权服务器获取token的地址
spring.security.oauth2.client.provider.yishui.token-uri=http://192.168.0.172:8000/oauth/token
# 授权服务器中获取登录用户信息的地址
spring.security.oauth2.client.provider.yishui.user-info-uri=http://192.168.0.172:8000/me
#定值,必须配置,否则会出错
spring.security.oauth2.client.provider.yishui.user-name-attribute=userAuthentication
|
注意:
上述配置中的yishui可以为任意值,但是一般最好为有标识意义的值,例如使用 google 账号登录时,可以进行如下配置:
spring:
  security:
    oauth2:
      client:
        registration:
          google:
            client-id: google-client-id
            client-secret: google-client-secret
|
三 配置启动文件
@SpringBootApplication
@RestController
//@EnableOAuth2Sso
public class DemoApplication {

    @GetMapping("/me")
    public Authentication user(Authentication authentication) {

        return authentication;
    }


    @GetMapping("/")
    public String index(Model model,
                        @RegisteredOAuth2AuthorizedClient OAuth2AuthorizedClient authorizedClient,
                        @AuthenticationPrincipal OAuth2User oauth2User) {
        model.addAttribute("userName", oauth2User.getName());
        model.addAttribute("clientName", authorizedClient.getClientRegistration().getClientName());
        model.addAttribute("userAttributes", oauth2User.getAttributes());

        return "index";
    }

    public static void main(String[] args) {

        SpringApplication.run(DemoApplication.class, args);

    }

}
|
四 使用单点登录
完成上述配置以后,我们就可以使用单点登录功能了。
例如当我们想要访问 http://localhost:8080/me 时,系统会重定向到到默认的登录页面
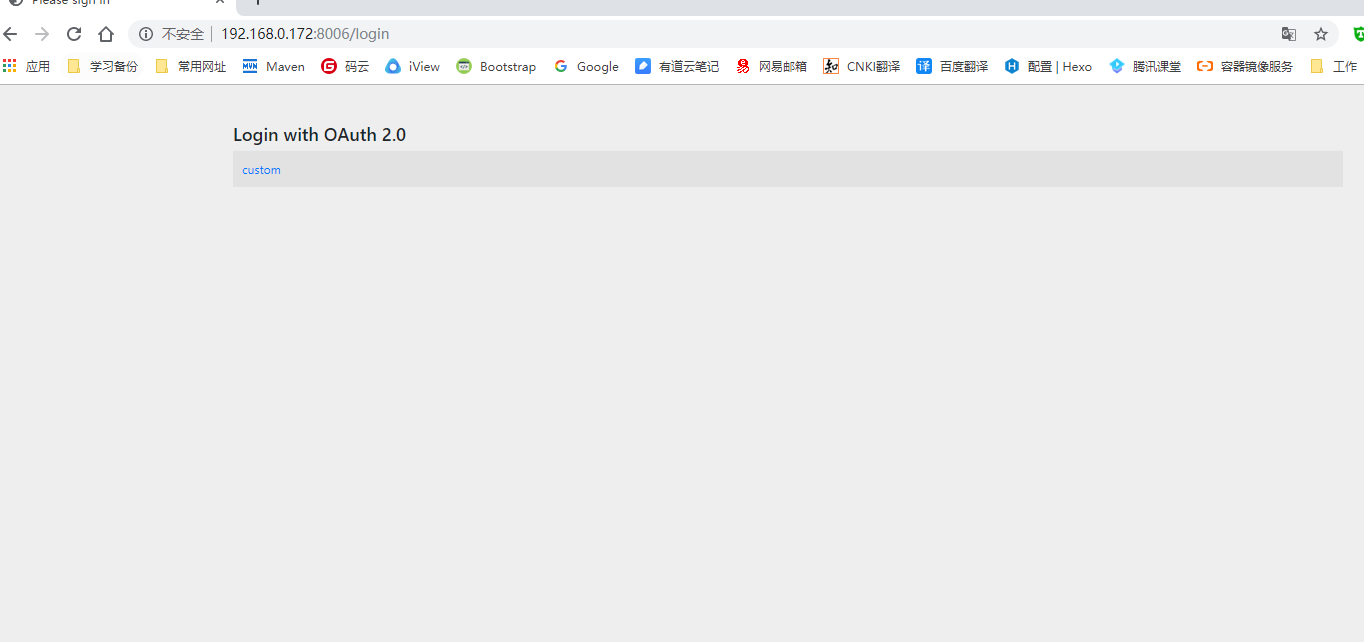
注意:这里显示的是默认的登录页面,如果用户想要显示自定义登录界面,可以参见 易水公共组件里面的相关章节进行修改和美化。
点击上面的登录链接,会跳转到授权服务器的登录页面

在此页面输入用户名和密码登录成功后,请求会跳转到原始等请求地址
响应结果如下:

更多参见